Quarantine Woodworking

Laminated Hardwood Alaska Cutting Board. This post will go over the steps I took in making it.
During the various lockdowns and quarantines imposed since the onset of the Coronavirus pandemic, many people have turned to various hobbies to occupy their newfound free time. I myself turned to an old passion of mine—woodworking—a past-time that I once feverishly pursued during high school, but which more recently had gone dormant. The desire to use my hands to create tangible works that are not only practical but beautiful as well has never left me though. And, since I spent the first five months of the pandemic quarantining where I grew up, the ready access to my grandfather’s woodshop proved irresistible. Using his tools and making some sawdust felt like a great tribute to my late Grandpa Bleeker, whose deep passion in life was woodworking. Grandpa Bleeker left behind many scraps of beautiful hardwoods that had spent years in the basement just pining to be turned into something beautiful.
I find I have the greatest joy in woodworking when I am building a project specifically for someone. The hours spent communing with the wood are like hours spent focusing on that friend. With that in mind, every creation I make is unique, tailored to whoever will be the recipient. Every project has to start with an idea, and oftentimes it is the pieces of wood that tell me what they want to become, or the final project will have some symbolic significance for the recipient. The project example used in this blog post was made for a couple of friends who have worked in Alaska. It is a laminated wood cutting board that also denotes the fondness for charcuterie boards we had whilst we we coworkers.
I started this project by printing out a template to follow. I wanted to make a broad enough cutting surface to make the board actually practical, and the bulk of mainland Alaska provided a cutting surface of about 8″ by 10″. Due to the state’s geography, however, the Southeast Alaskan Panhandle and the Alaska Peninsula made this one of my largest and most complicated cutting board projects yet.

Cutting Board Template
The first step is to lay out all the strips of wood to be laminated together over the template. With a challenging shape like Alaska, it took some maneuvering to figure out how to make the board look good while also keeping it structurally sound. Since I wanted a varied look for visual interest instead of uniformity or pattern, I kept the widths of my wood strips at whatever size they happened to be; since my end goal was to have the cutting board be about 1″ thick, all the wood strips used started around 1 1/8″ to 1 1/4″ in thickness. A laminated cutting board is a great way to use up long, skinny scraps of hardwood, and cutting pieces to the size of the template helps further reduce wood waste. This cutting board is composed primarily of Oak, Walnut, Cherry, and Maple, laid out mindfully to highlight the contrasts in color and grain of each wood species.
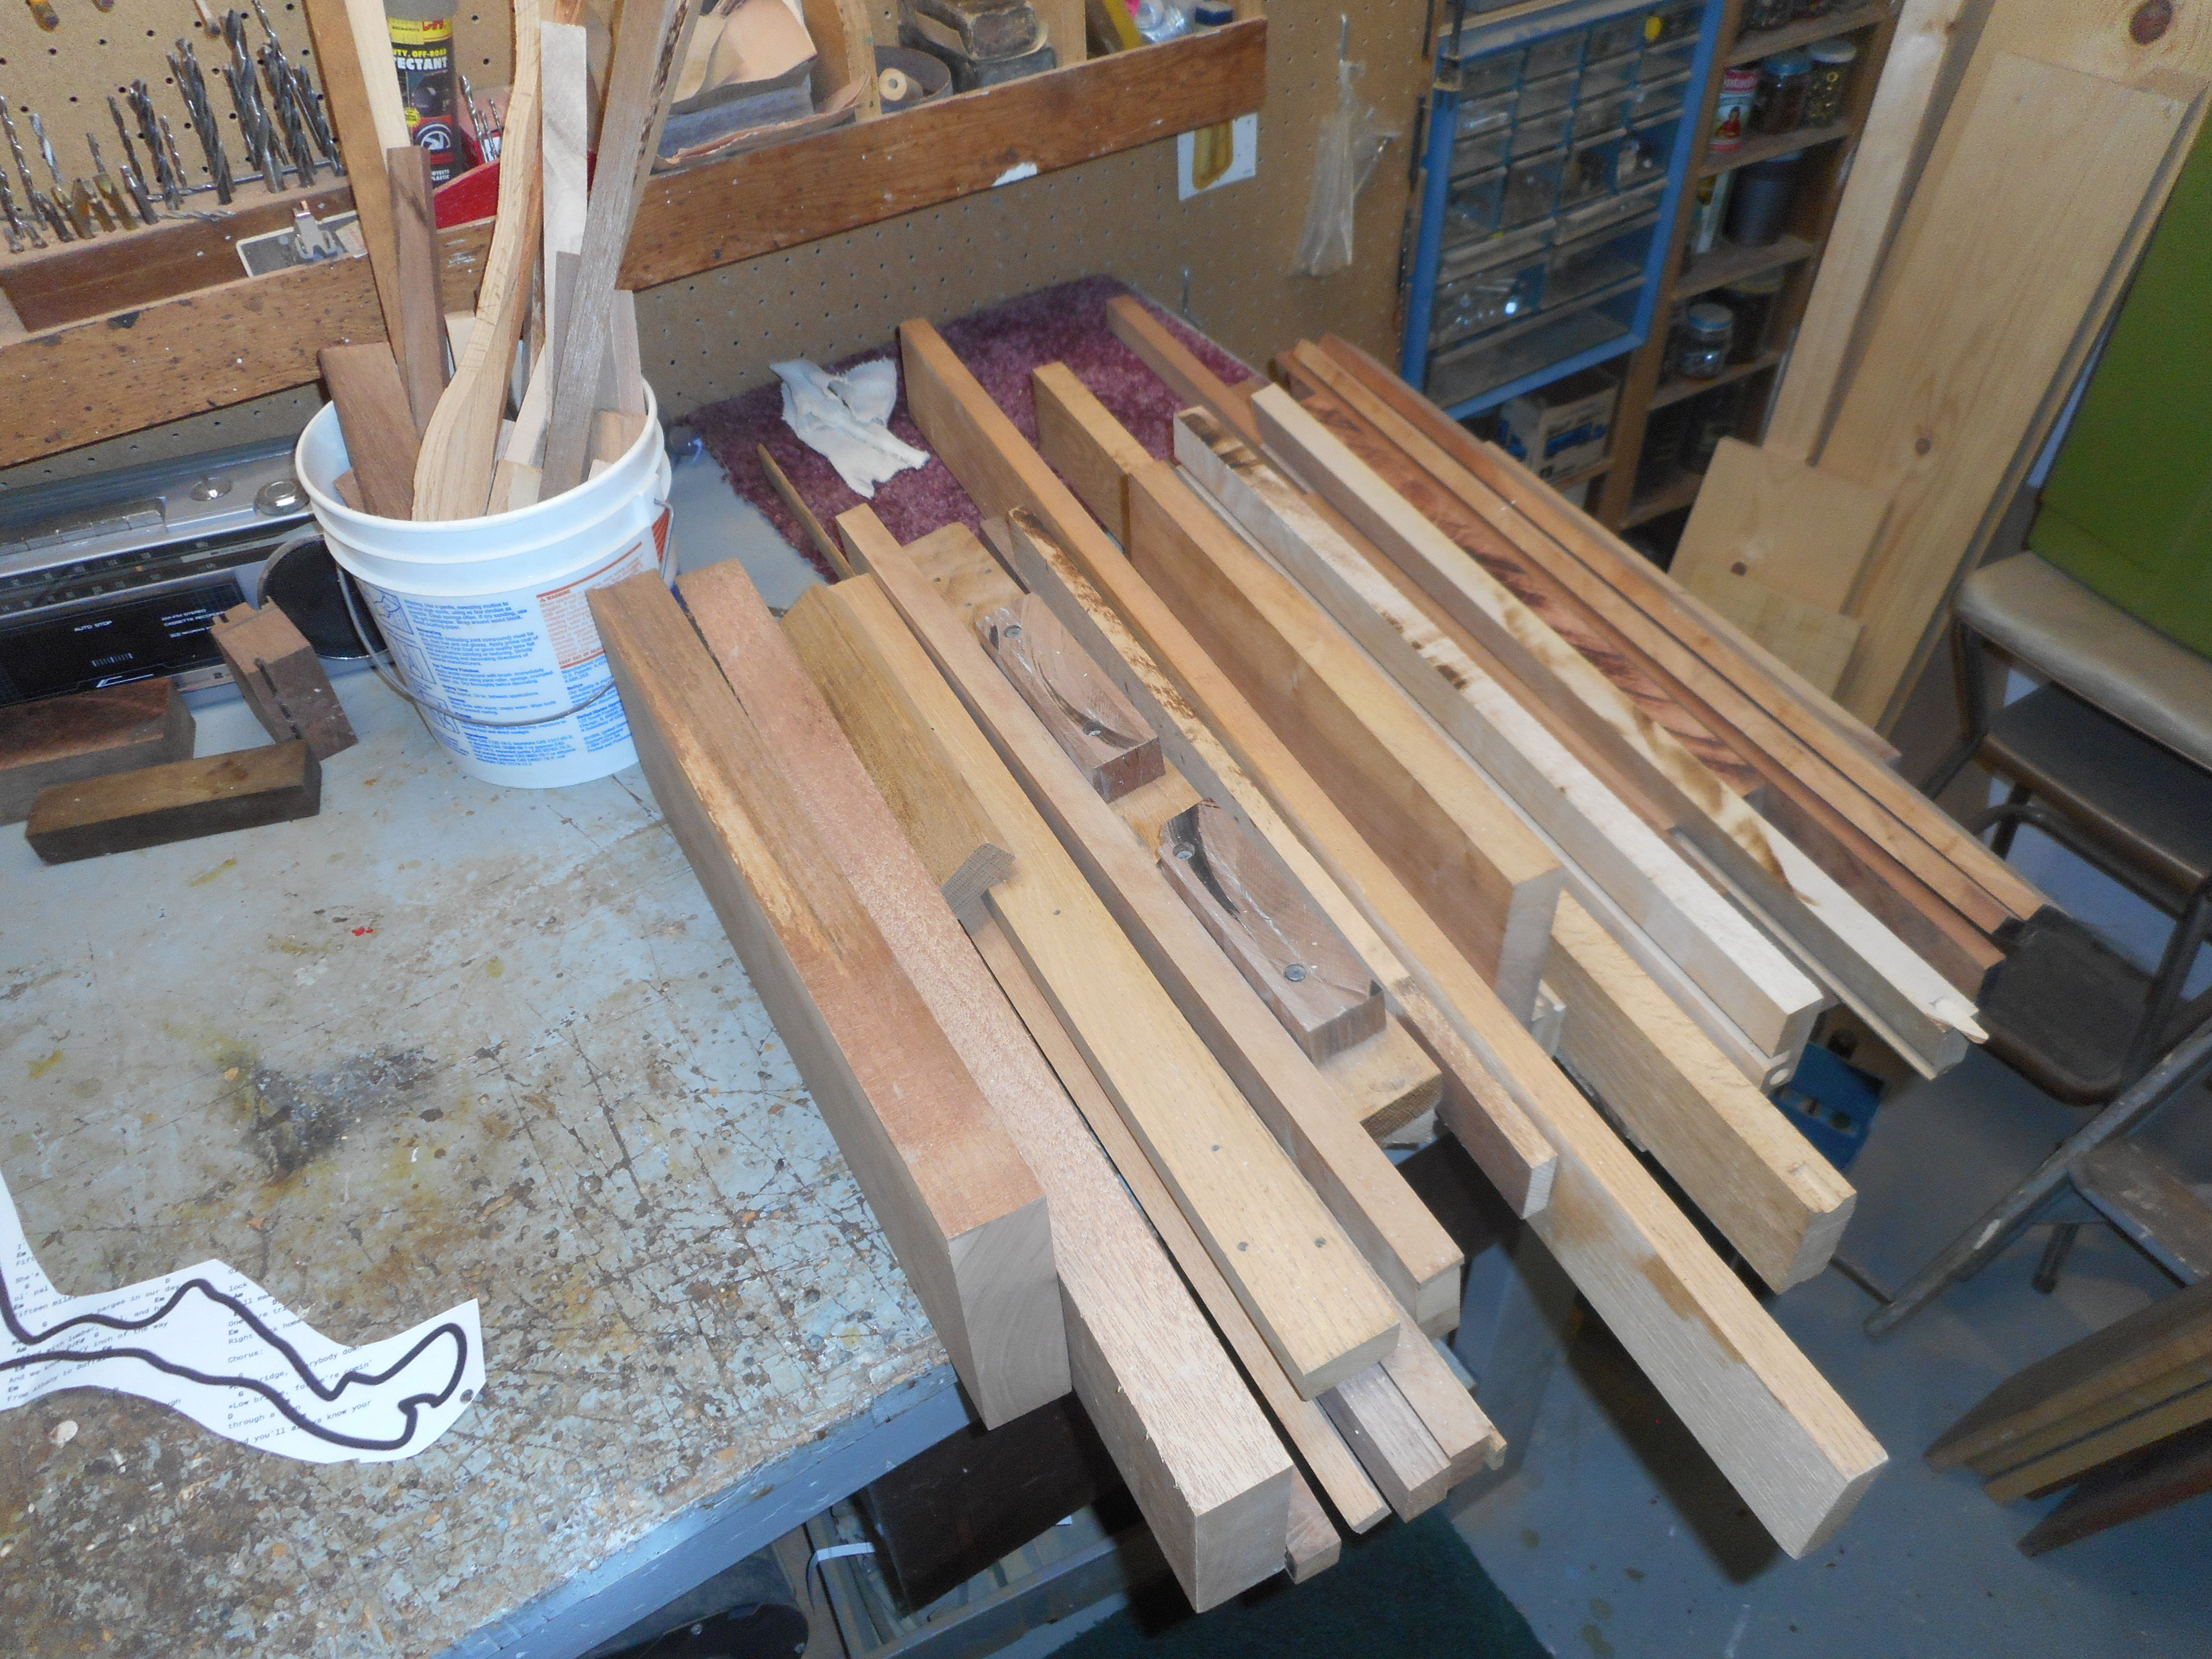
Some of the hardwood stock used to make the cutting board
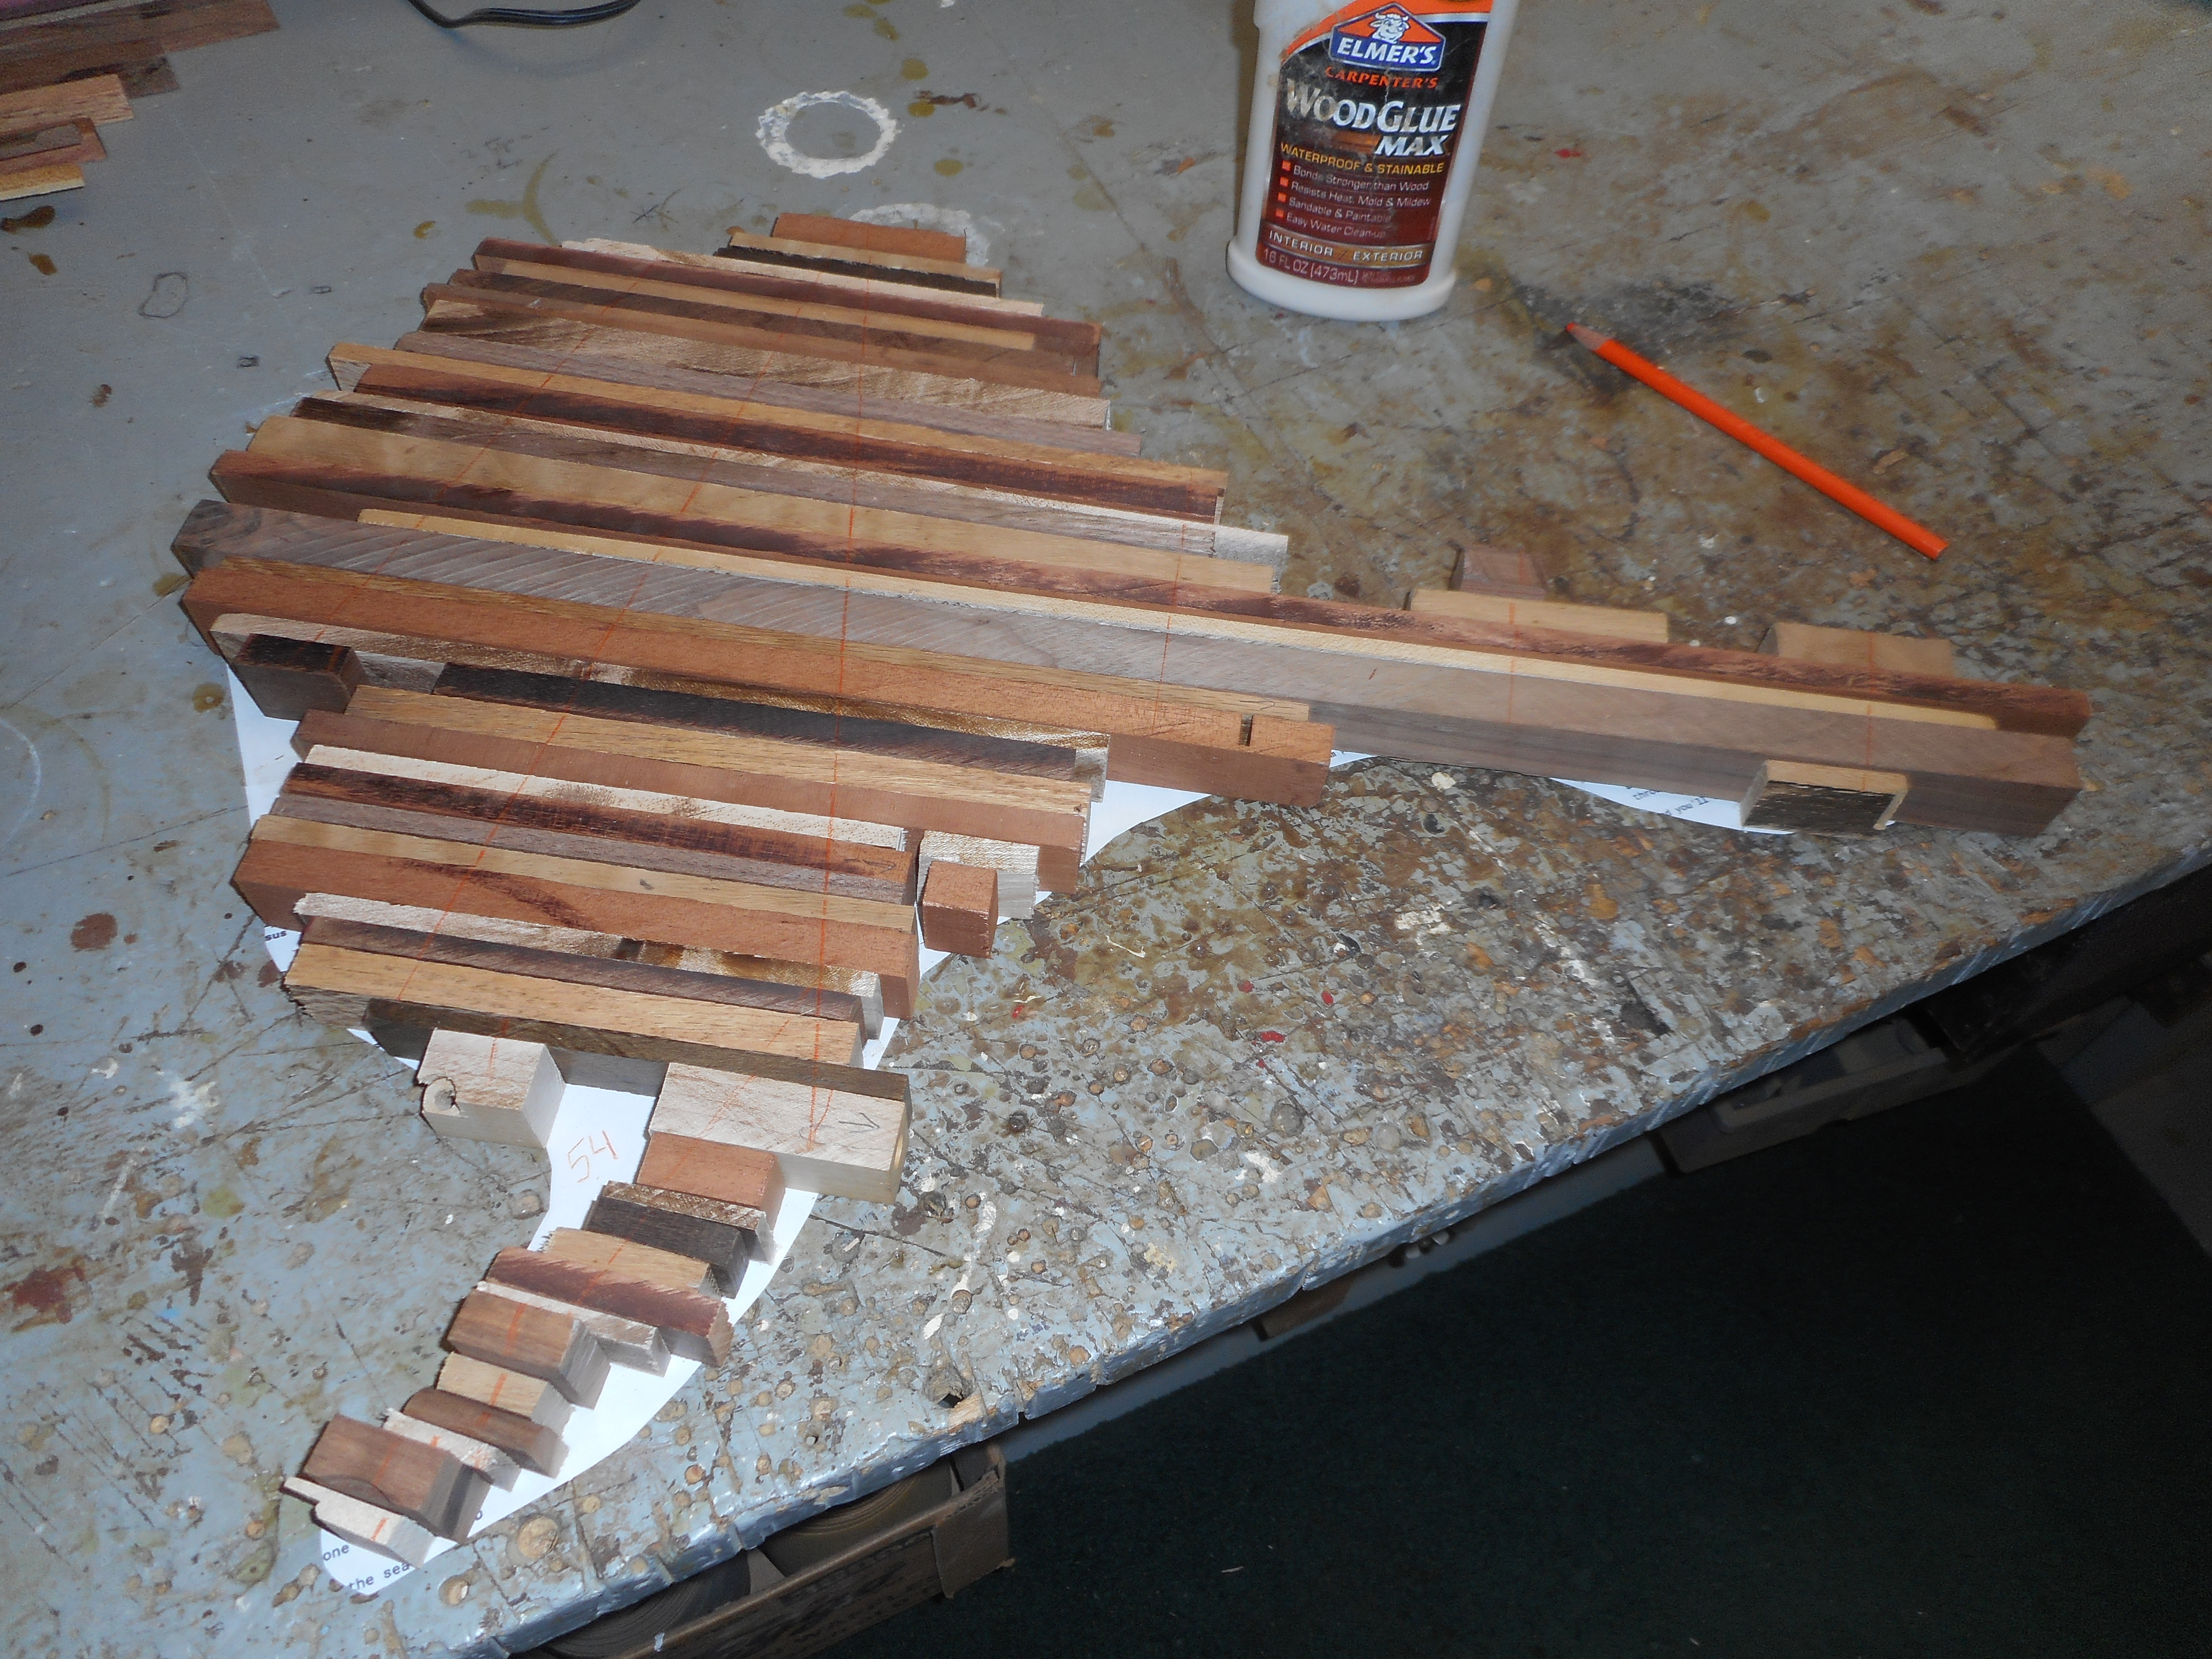
All the wood strips laid out and ready for glue!
With all the wood strips laid out over the template, it is time to start gluing them together! I used a high-strength version of Elmer’s Wood Glue, just because the finished cutting board may get wet during washing. With so many different sized pieces, and with such an awkward shape to clamp, I segmented Alaska into five different sections to make square-ish shapes to promote more secure clamping. Another reason to glue in sections was that my planer had a six-inch width, which is very important in the next step. If I was using my high school woodshop, I wouldn’t have had that problem, and could have glued the entire board together initially as a unit.

The five sections, glued, clamped, and curing
Once the glue has dried, I simply ran the larger three sections through the planer until they were all approximately the same thickness. Planing works like quick magic in taking the uneven glue-slopped board sections and making them look more like a finished product. The two sections that composed the Alaska Peninsula were too small to fit through the planer, so I smoothed them out using a belt sander. Once the five sections were about the same thickness, I glued them together to complete the state of Alaska.
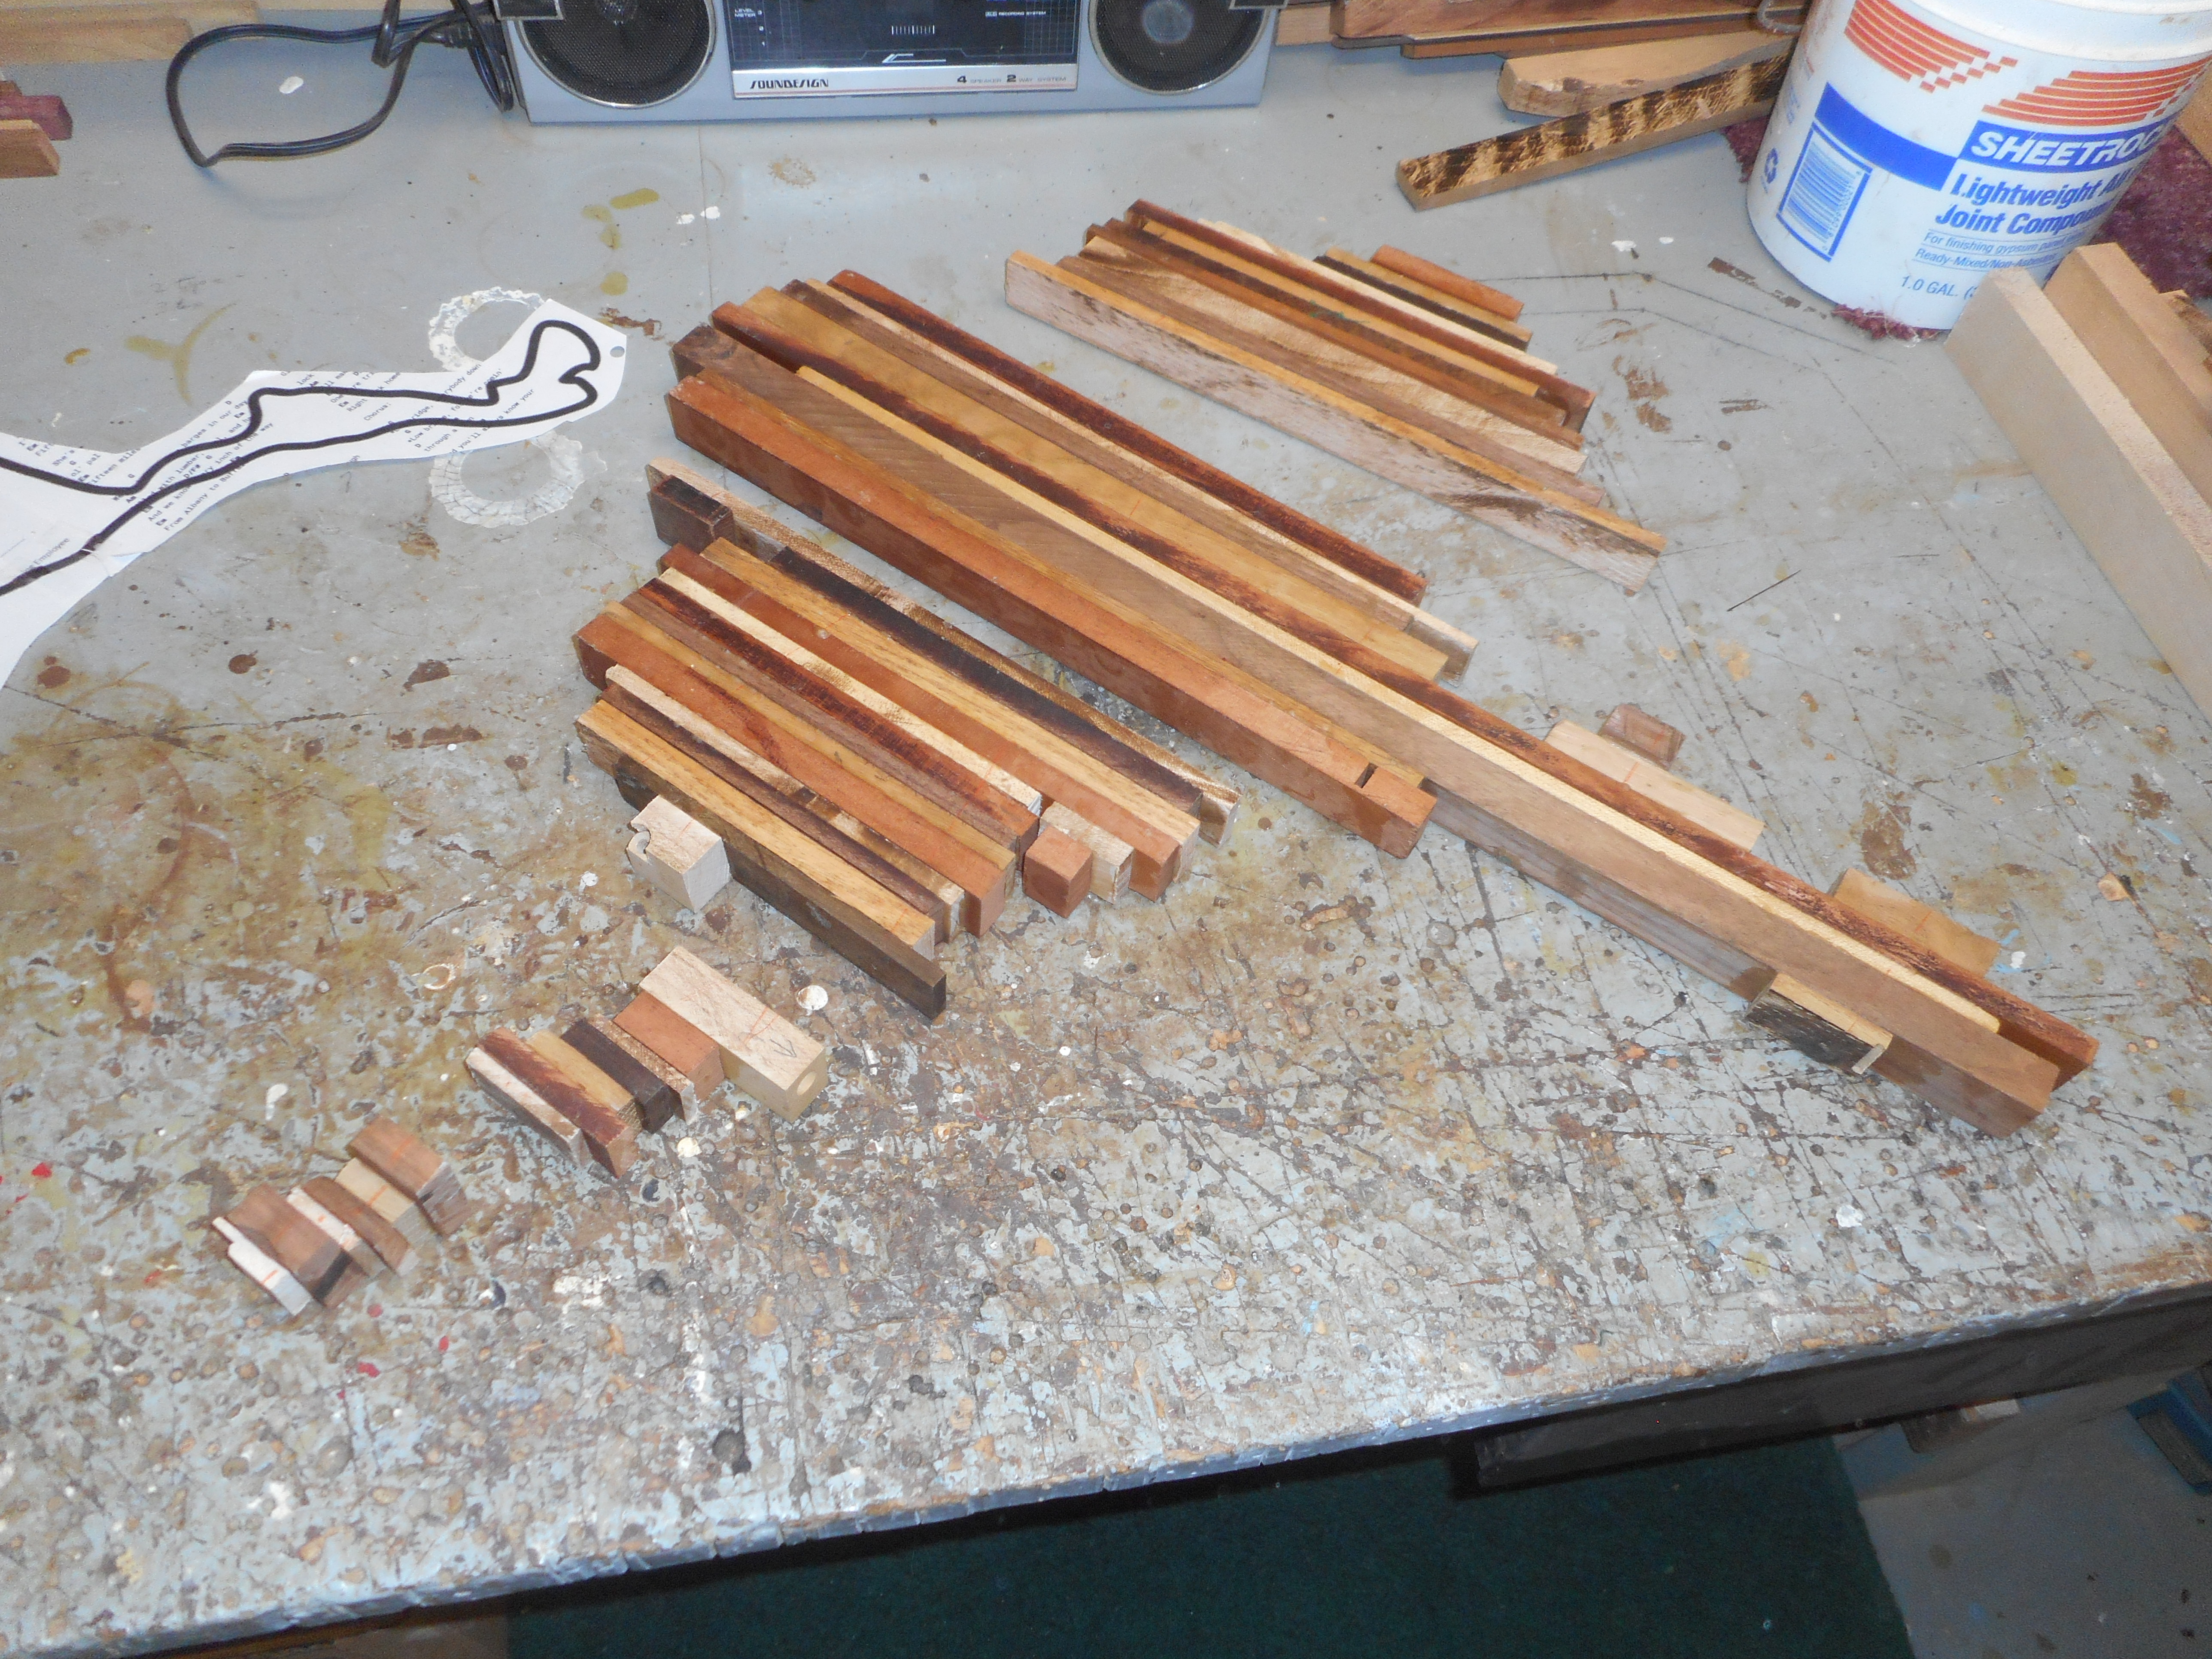
The five sections, glued, but before planing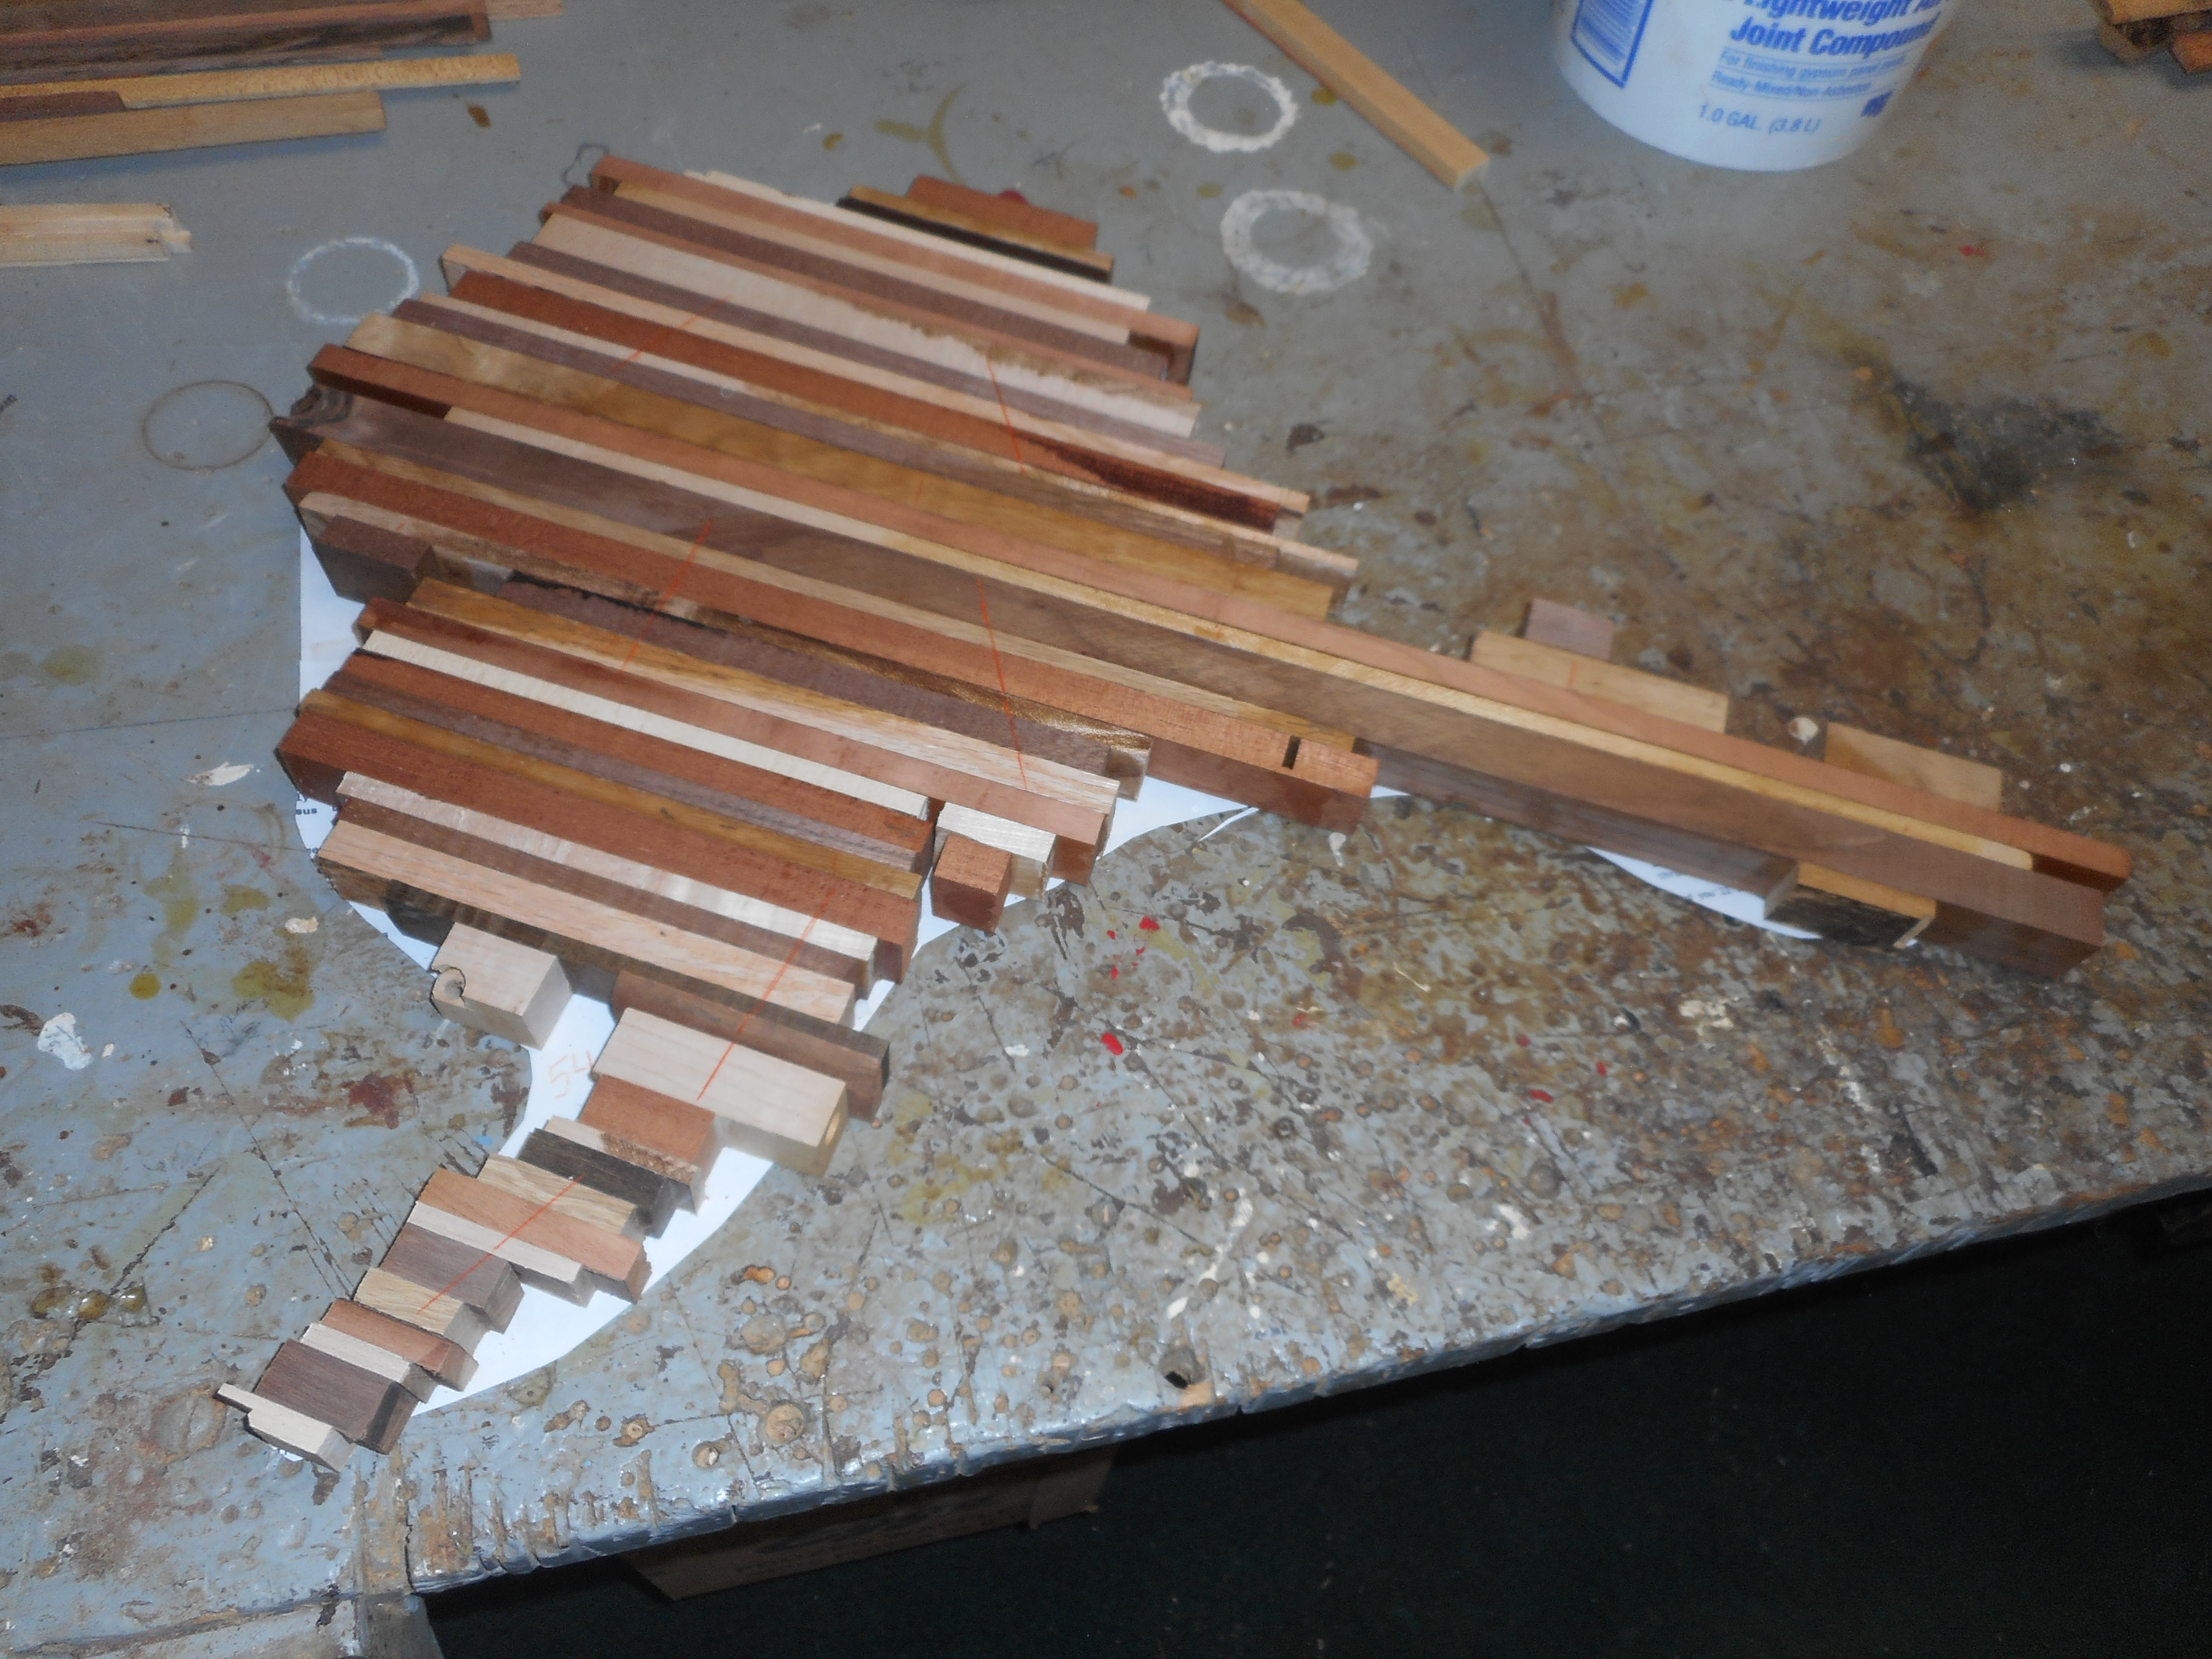 The five sections, planed and ready to be glued
The next step is a lot of work on the belt sander. While planing quickly gets wood down to the desired thickness, it leaves the wood pretty rough. The belt sander makes the surface nice and smooth, ready for an array of cheese and crackers.

Smooth results after the belt sander
Now for the fun part, one of the quickest transformations of the whole process! It’s time to lay the template back on the sanded board, and use a bandsaw to cut along the black line. And voila, the real Alaska emerges!


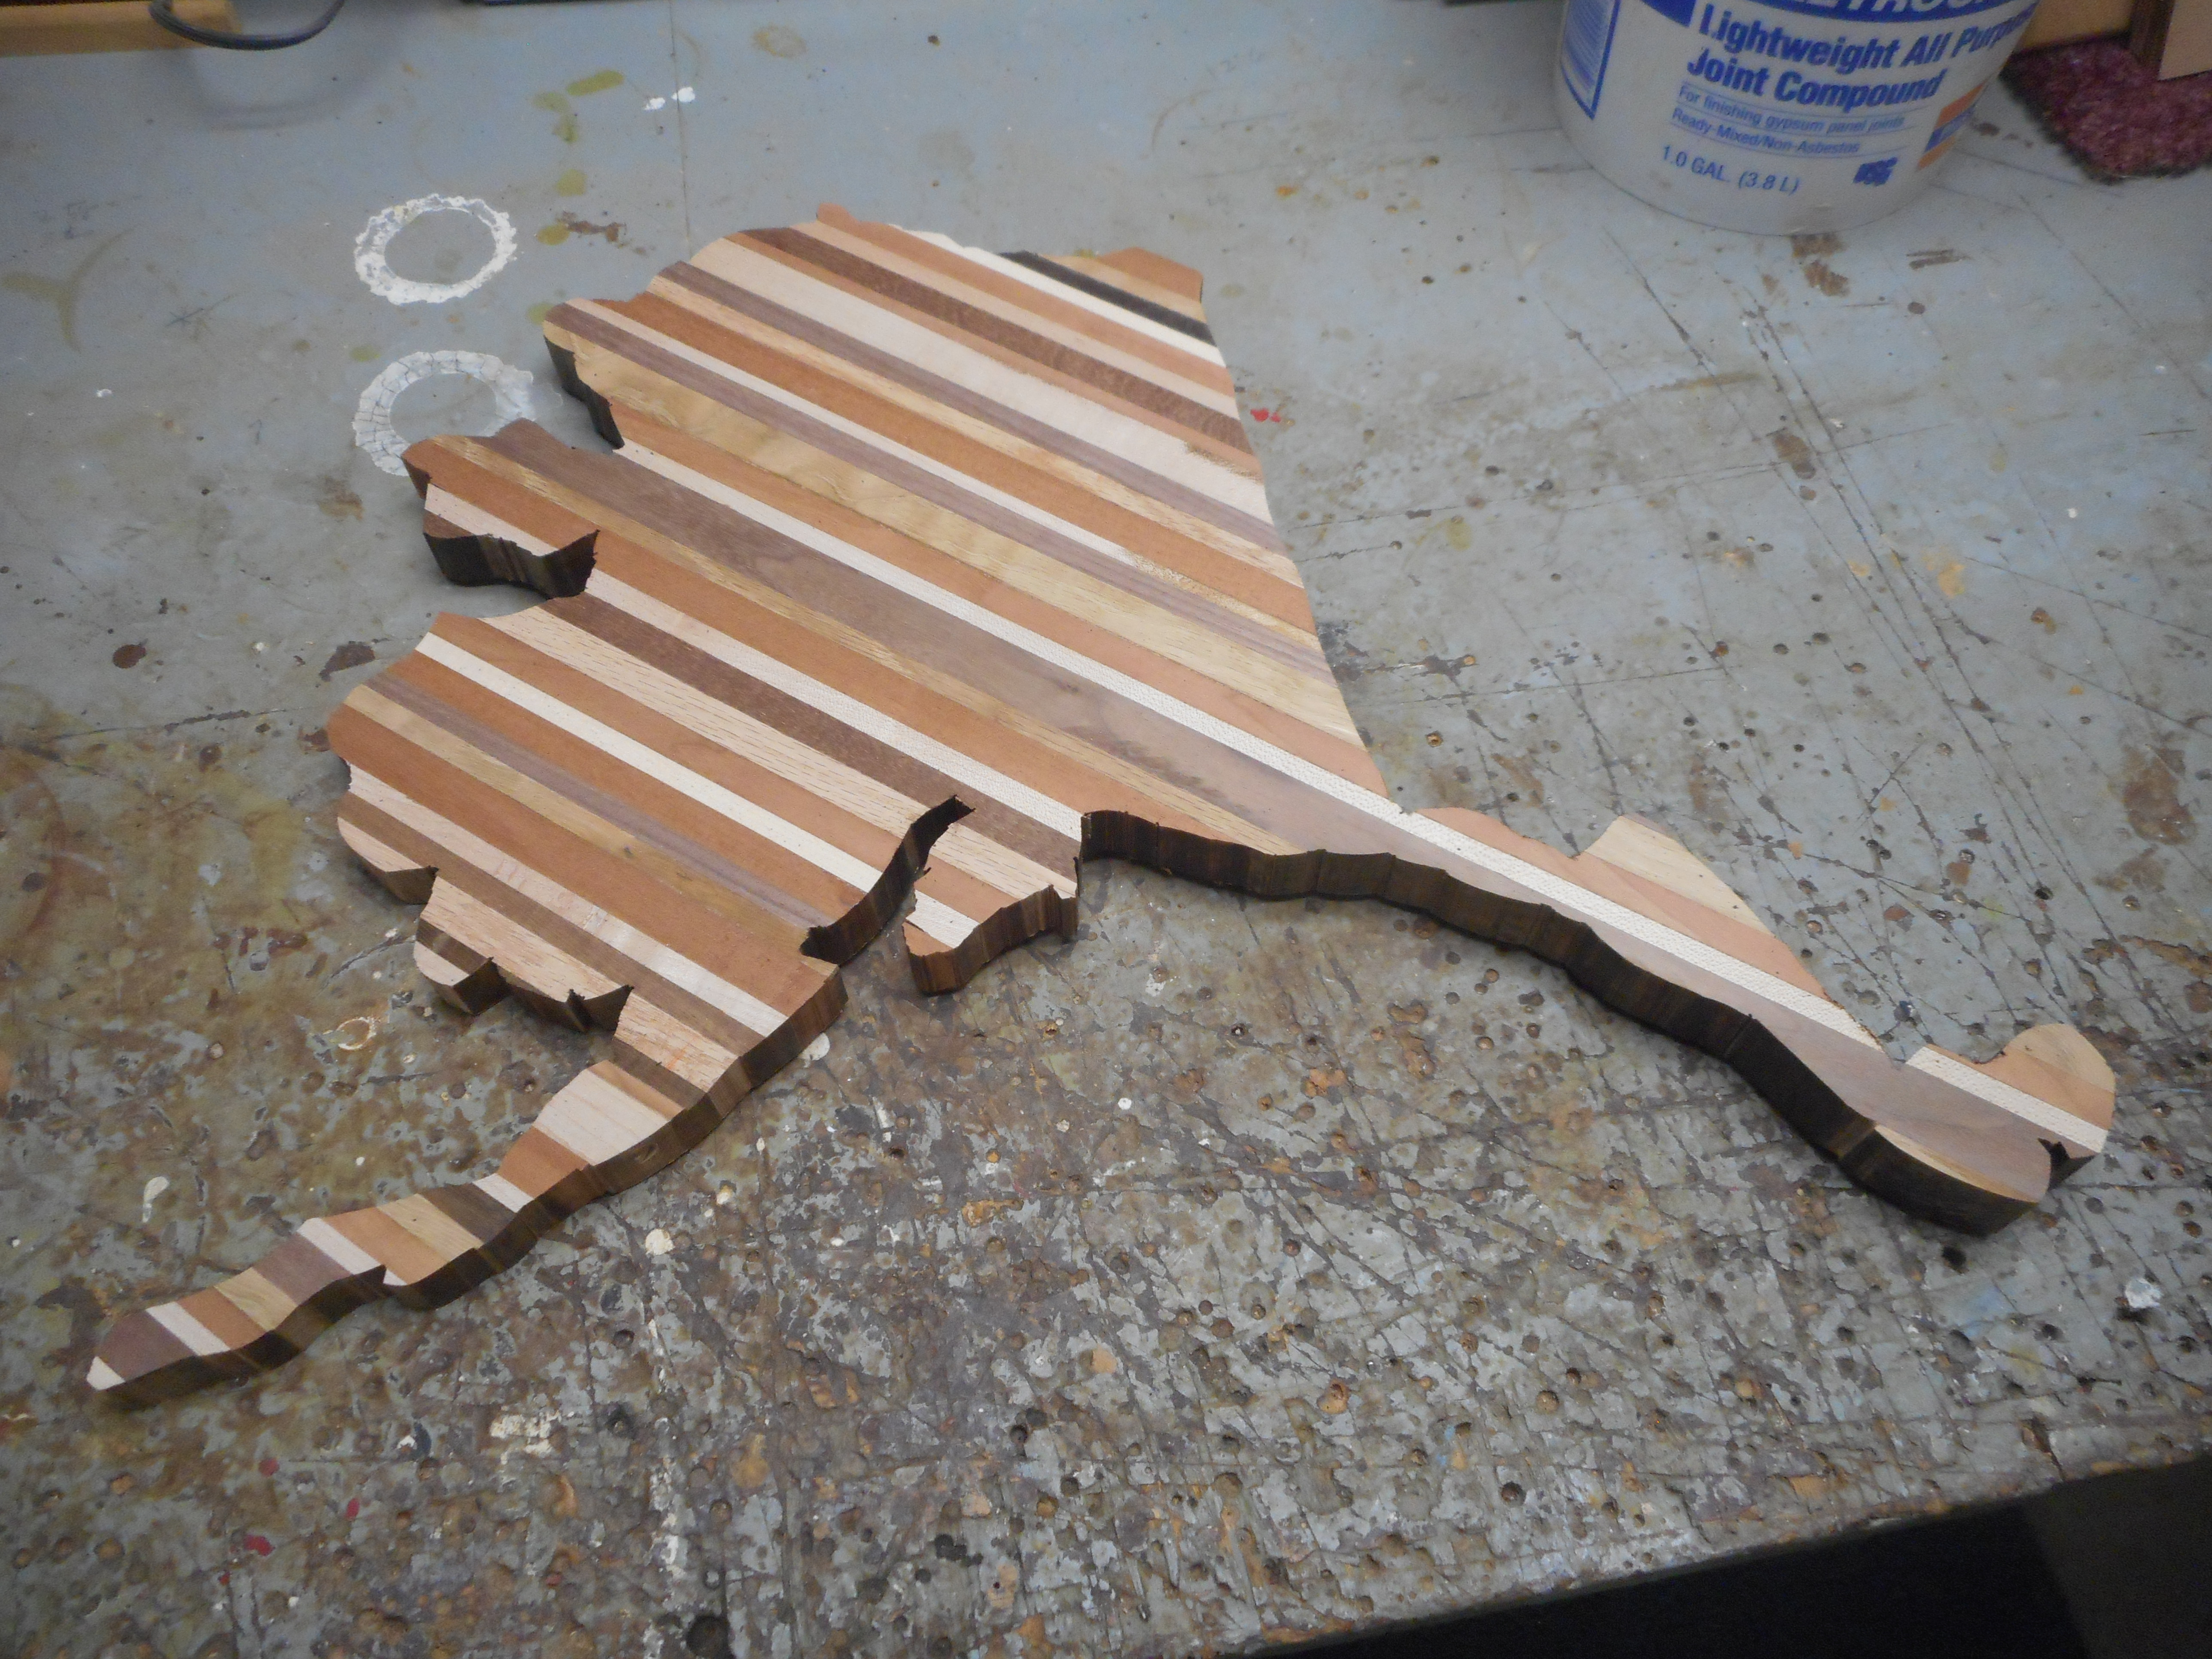
The big reveal!
With just some detailed sanding to smooth out the edges from the bandsaw cuts, the cutting board is just about finished. The last step is to protect the wood with a nice finish of food-safe oil. I hand rubbed in three coats of olive oil. Nothing like a good coat of oil to make the vibrancy of the wood really come to life!
The finished product
______________________________________________________________________________
To see more of my woodworking projects, follow the link to my website.
Posted on October 5, 2020, in Hobbies and tagged Cutting Boards, Wood Lamination, Woodworking. Bookmark the permalink. 3 Comments.

Amazing work! I’ll be looking forward to your next woodworking projects.
LikeLike
An informative article. I really like it and would like to share it with my friends.
LikeLike
This is actually me these past few months, lol. Quarantine woodworking is my time sink and I even still get the experience that can improve my skills
LikeLike